notepod
Exercise 3: Share a Note
Table of Contents
This exercise will show you how to share a note in the Notepod app.
In Solid, sharing a note to another person is the act of editing the access control list of a resource which you control to make that resource accessible to the other person’s webID. It does not show whether they have accessed the resource, it only makes the resource accessible to the recipient via the resource URI.
The access permissions of a note file describe which other people (identified by their webID) have access to your note file.
View Sharing Permissions of a Note
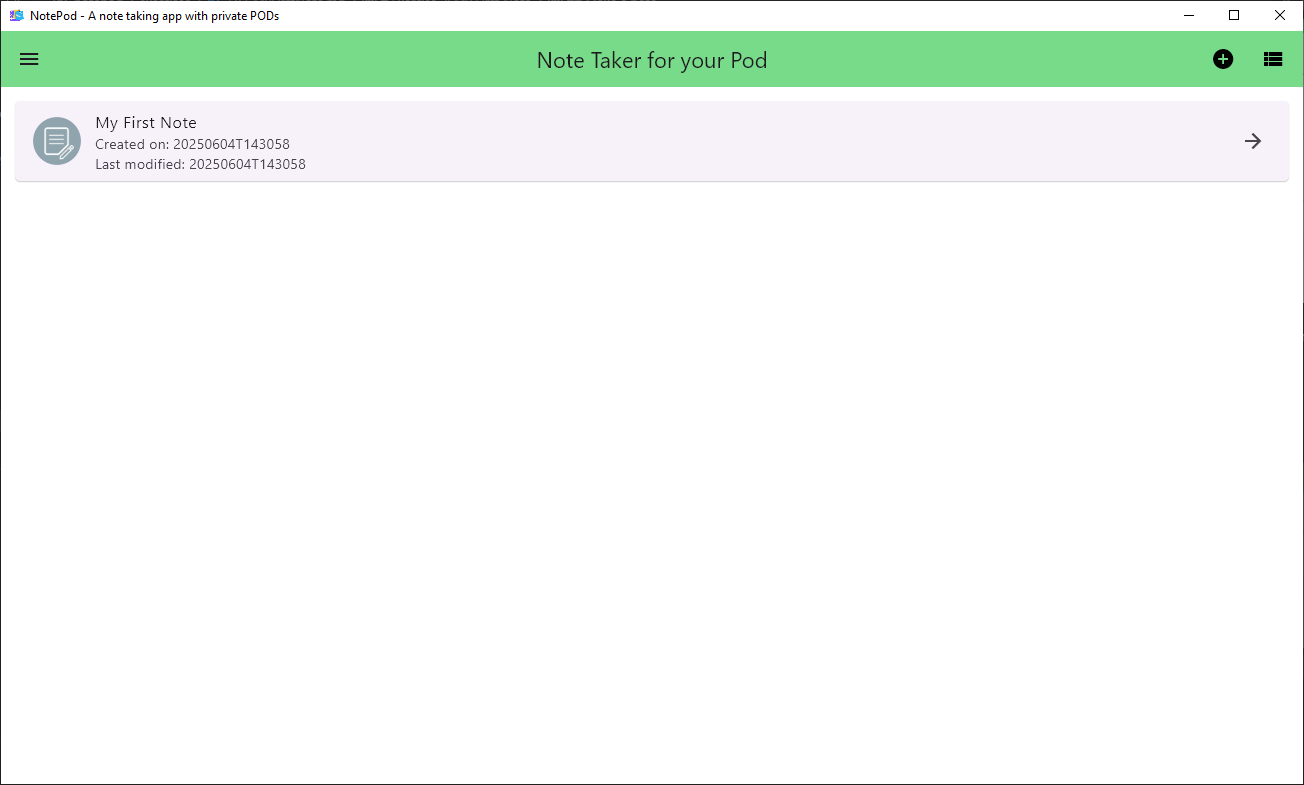
In the menu, select My Notes to open the list of your notes, and click on the note you wish to share.
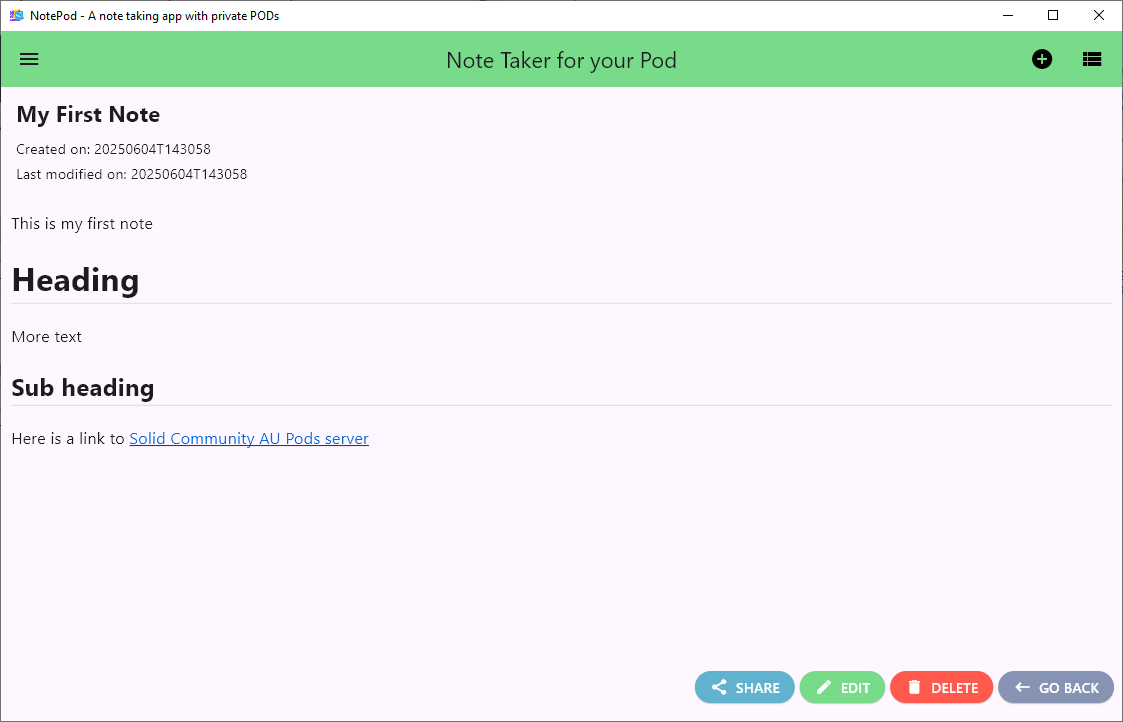
From within the note, click the Share button.
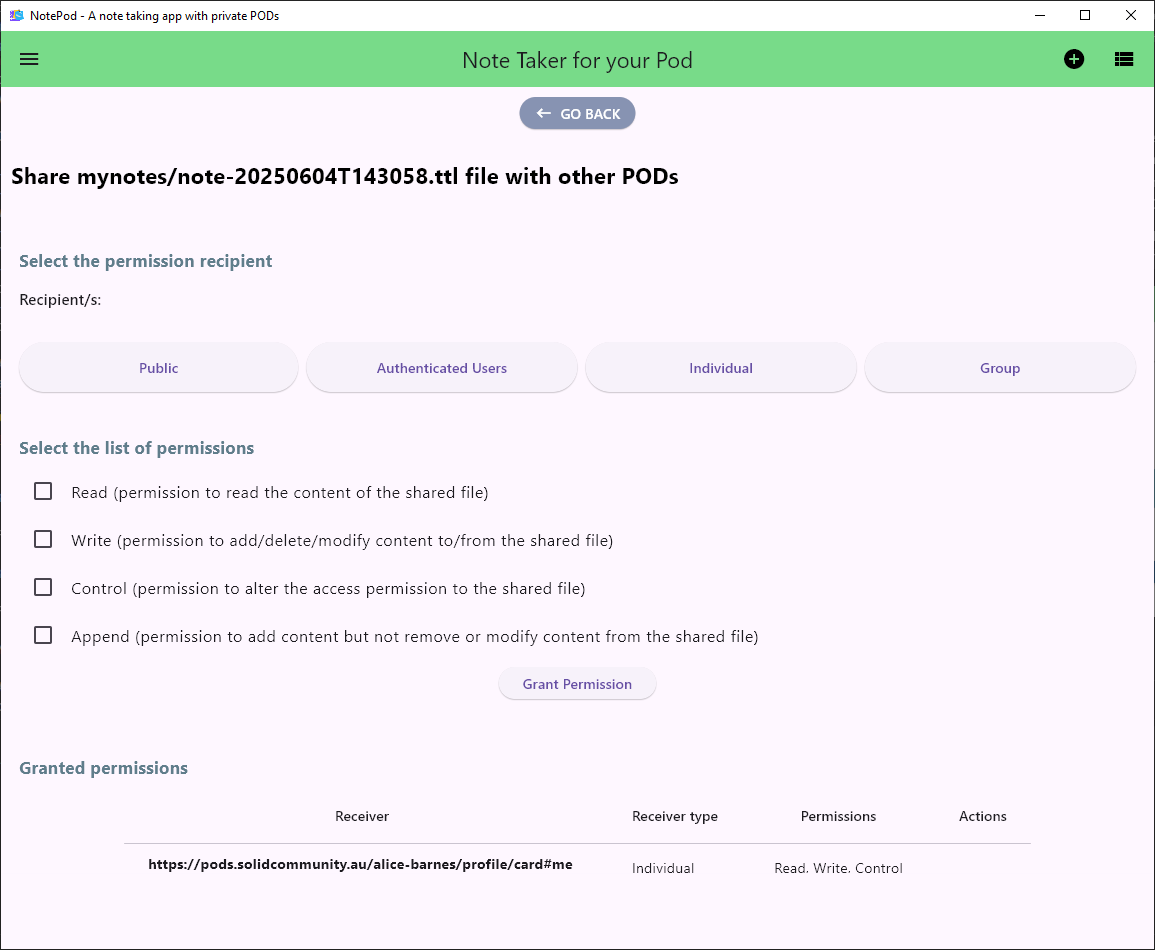
This will show the list of access permissions for the note file. The table below shows all the pods that have access to the note, including your pod, and the access level that recipient PODs have been granted.
Definitions for different permission levels:
Read- Users or apps signed in with this POD webID may read this resource file.Write- Users or apps signed in with this POD webID may edit this resource file.Control- Users or apps signed in with this POD webID may share this resource file to other PODs.Append- Users or apps signed in with this POD webID may append this resource file.
A newly created note which you have not yet shared will have the file access permissions similar to below with yourself as POD owner with read, write and control access.
Share a Note
First we will test granting read access to a note.
Grant read access
From the sharing view of a note file, click Individual button to provide permission to a single web ID.
Specify the person you are granting access to using their webID.
Ask the person you are granting access to what their webID is. A POD created on the Solid Community AU solid server https://pods.solidcommunity.au will have a webID of the form:
https://pods.solidcommunity.au/[pod_name]/profile/card#me
where pod_name is the name of their pod, and profile/card#me is the public card which everyone has in their POD. This is the public profile of that POD owner. You can view a POD user’s profile by opening the webID URI in a web browser.
Enter their webID in the web ID value text field.

Click the checkbox to give the recipient Read access.

Click Grant Permission to confirm that you are granting the recipient this access to your note file.
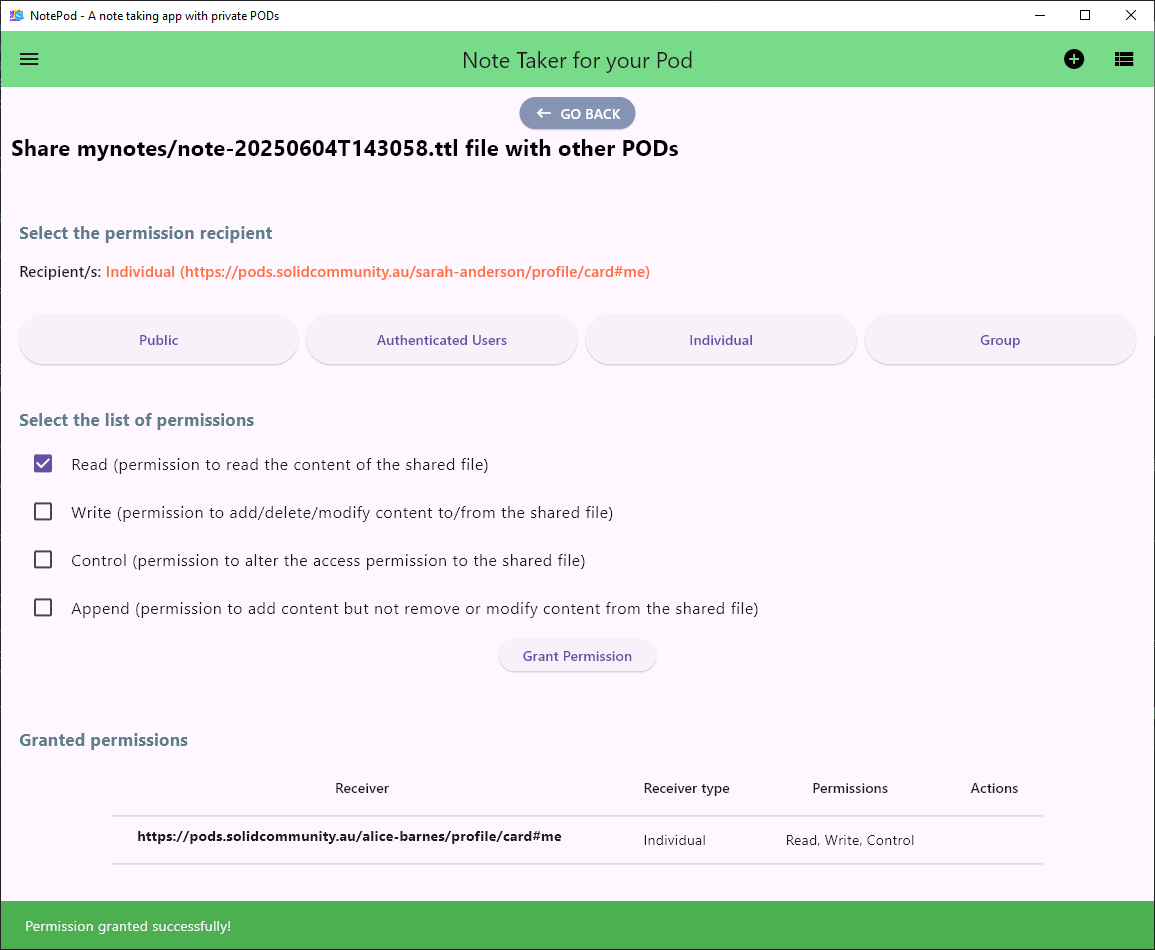
You have now granted the recipient access to your note file!
The next actions are done by the recipient of your note
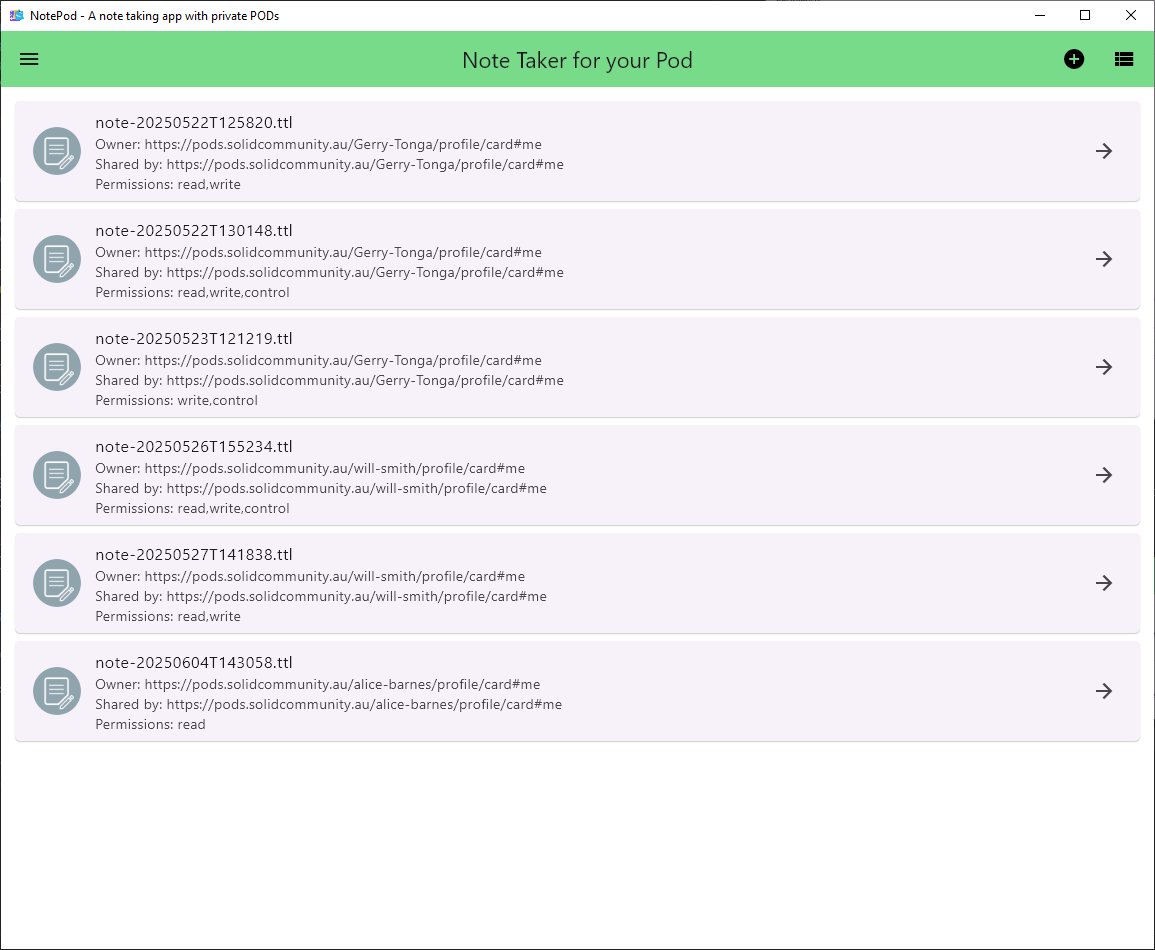
Now ask the recipient to login to their Notepod app, and select Shared Notes from the menu.
They should see your note in their shared notes list.
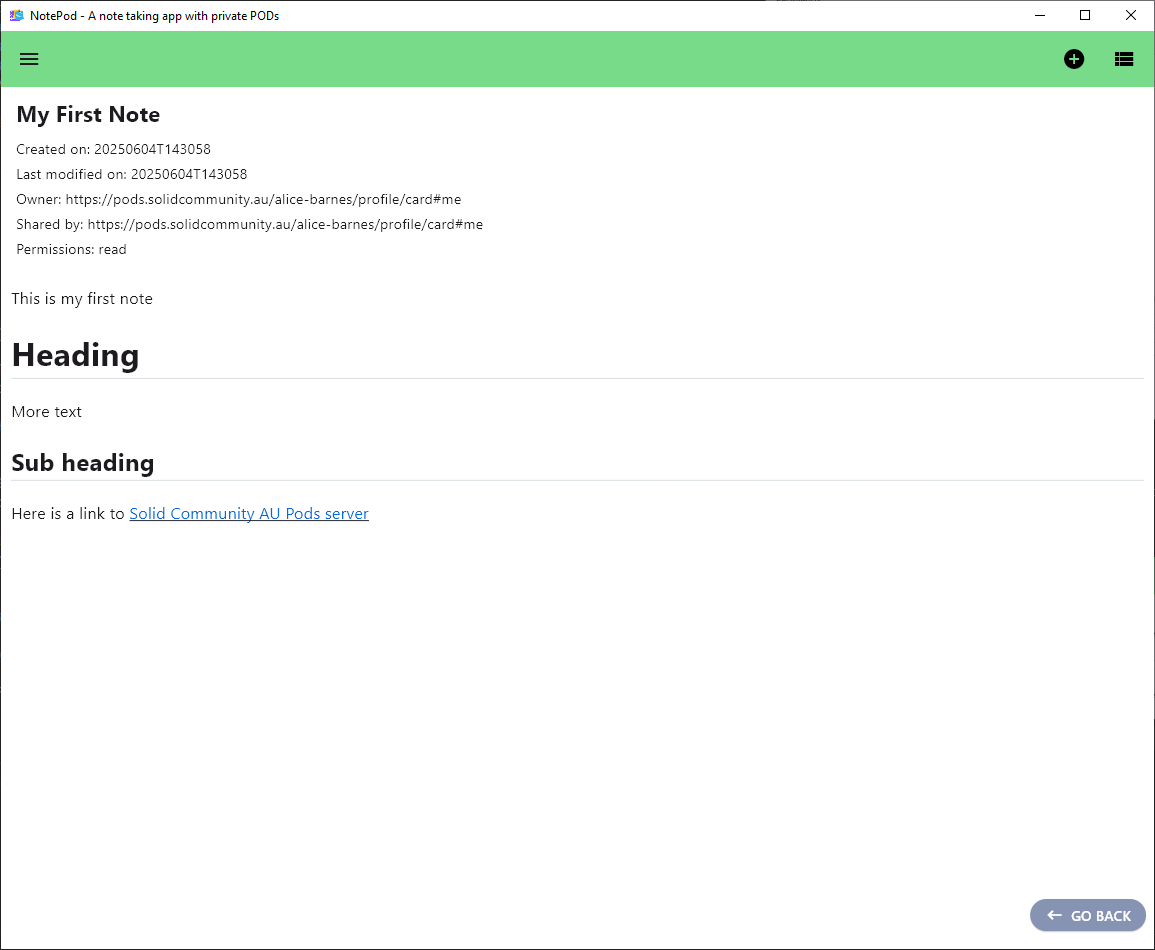
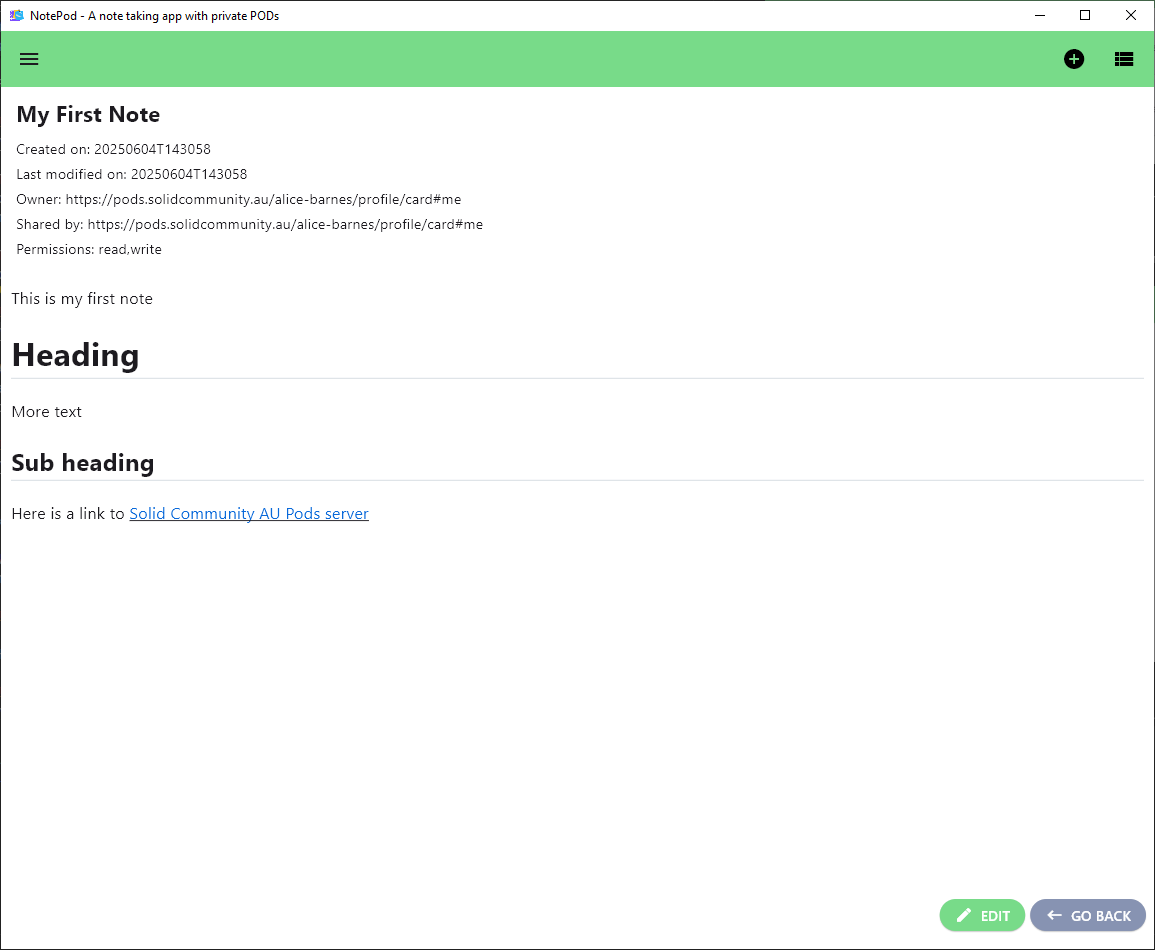
They have been granted Read permission, hence they can open and read the note
However they do not have write permission, hence they do not see an Edit button in the note view.
Similarly, they have not been granted control permission and consequently do not see an Share button in the note view.
Grant read and write access
These actions are by you
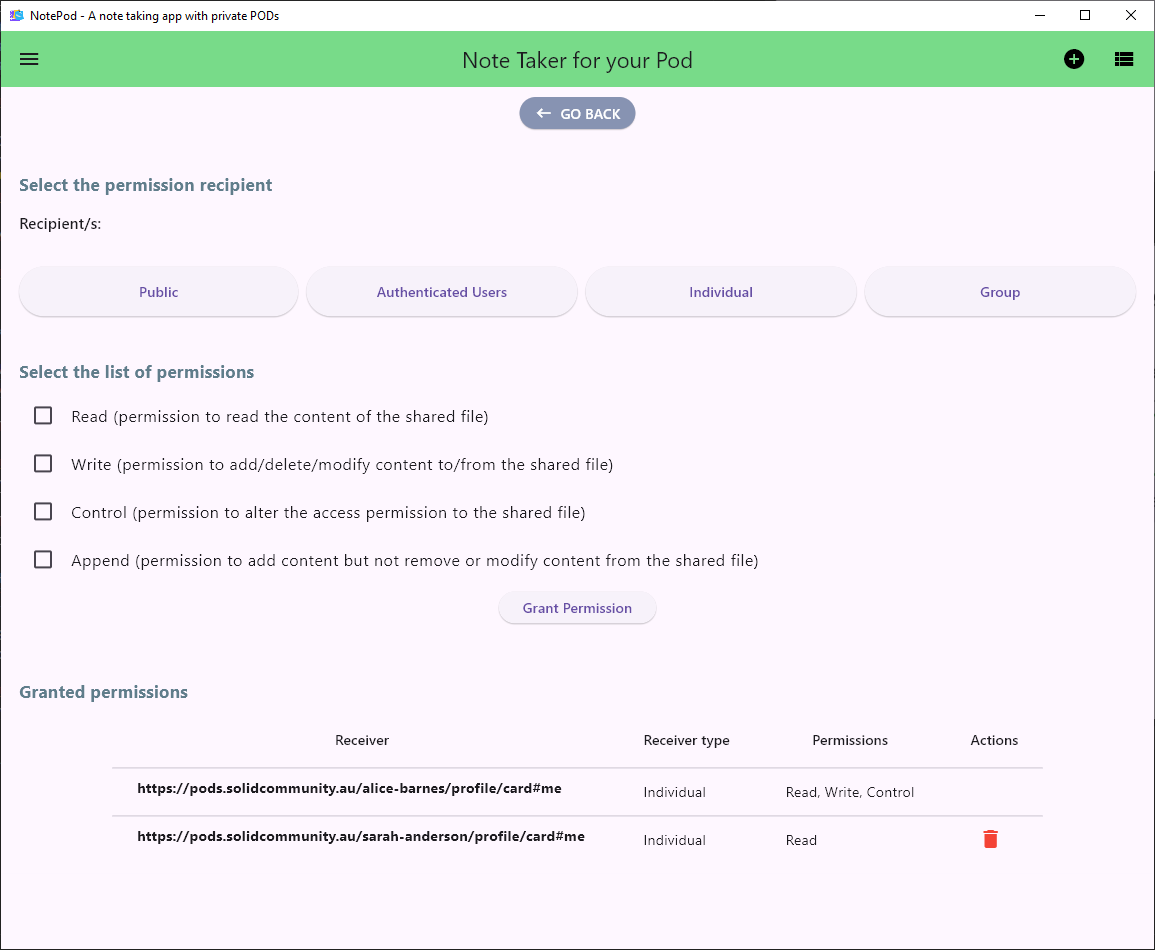
Go to the sharing view of a note file.
This time grant the recipient, Read and Write access.
Submit by pressing Grant Permission to confirm that you are granting the recipient this access to your note file.
The next actions are done by the recipient of your note
Now ask the recipient to login to their Notepod app, and select the Shared Notes list from the menu.
From their shared notes list, ask them to open the note.

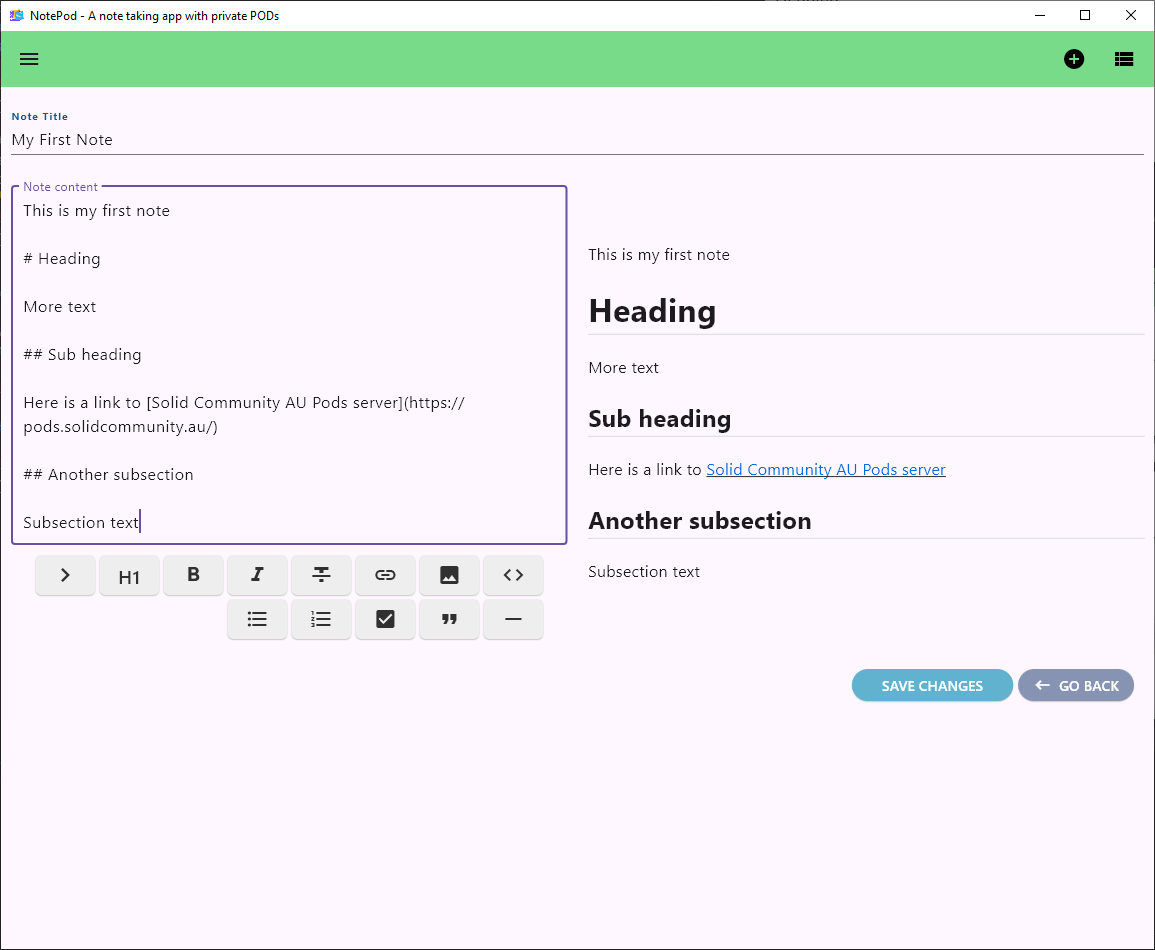
They have beenn granted Read and Write permission. This means they can read and write to the note, hence they have an Edit button in the note view.
They do not have the Share button, as you did not grant them Control permission.
Ask them to click Edit and add some text to your note - here they have added the section Another Subsection. In this way the recipient is able to collaborate with you on the note, while you keep sharing control.
These actions are by you
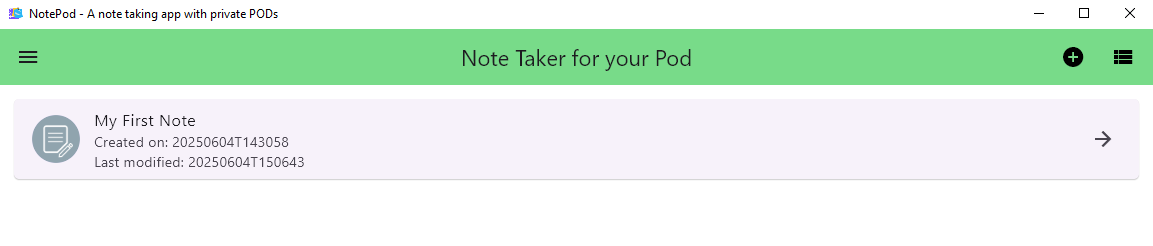
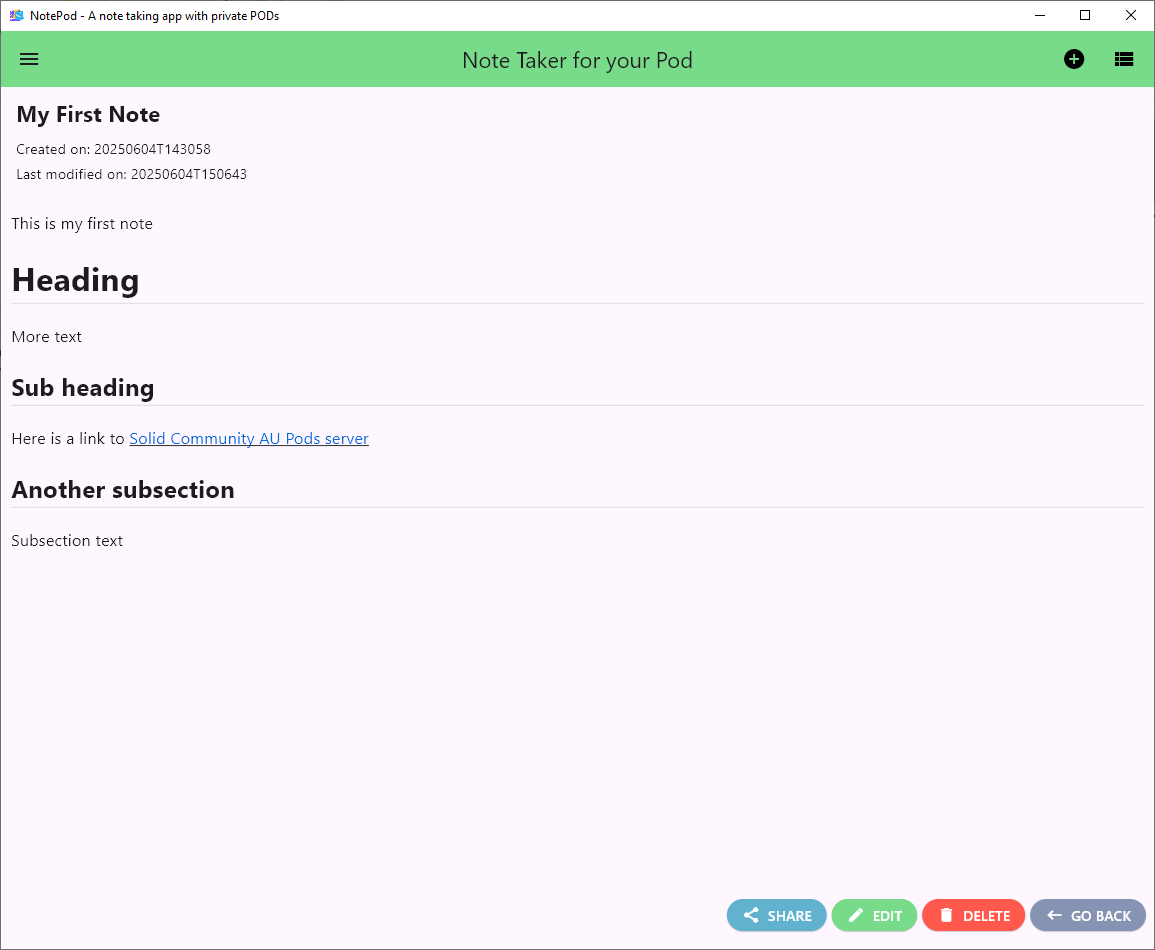
Now, open your My Notes list, you will see the last modification time has been updated. Click the note to open it.
Here you can see the additional text added by the recipient.
Note: Sometimes the app will direct you to a dialog box and ask to enter the master key. This is to ensure that the encrypted notes are decrypted correctly.