notepod
Exercise 2: My First Note
Table of Contents
This exercise will show you how to create a note in the Notepod web app.
Note: If you have flutter installed, you could also build and run the app locally on your machine.
Login
Open the Notepod app (web app) and click Login.
Option 1: no recent login
If you have not logged in recently, you will probably see a login window, enter the email address and password that you used to create your POD.
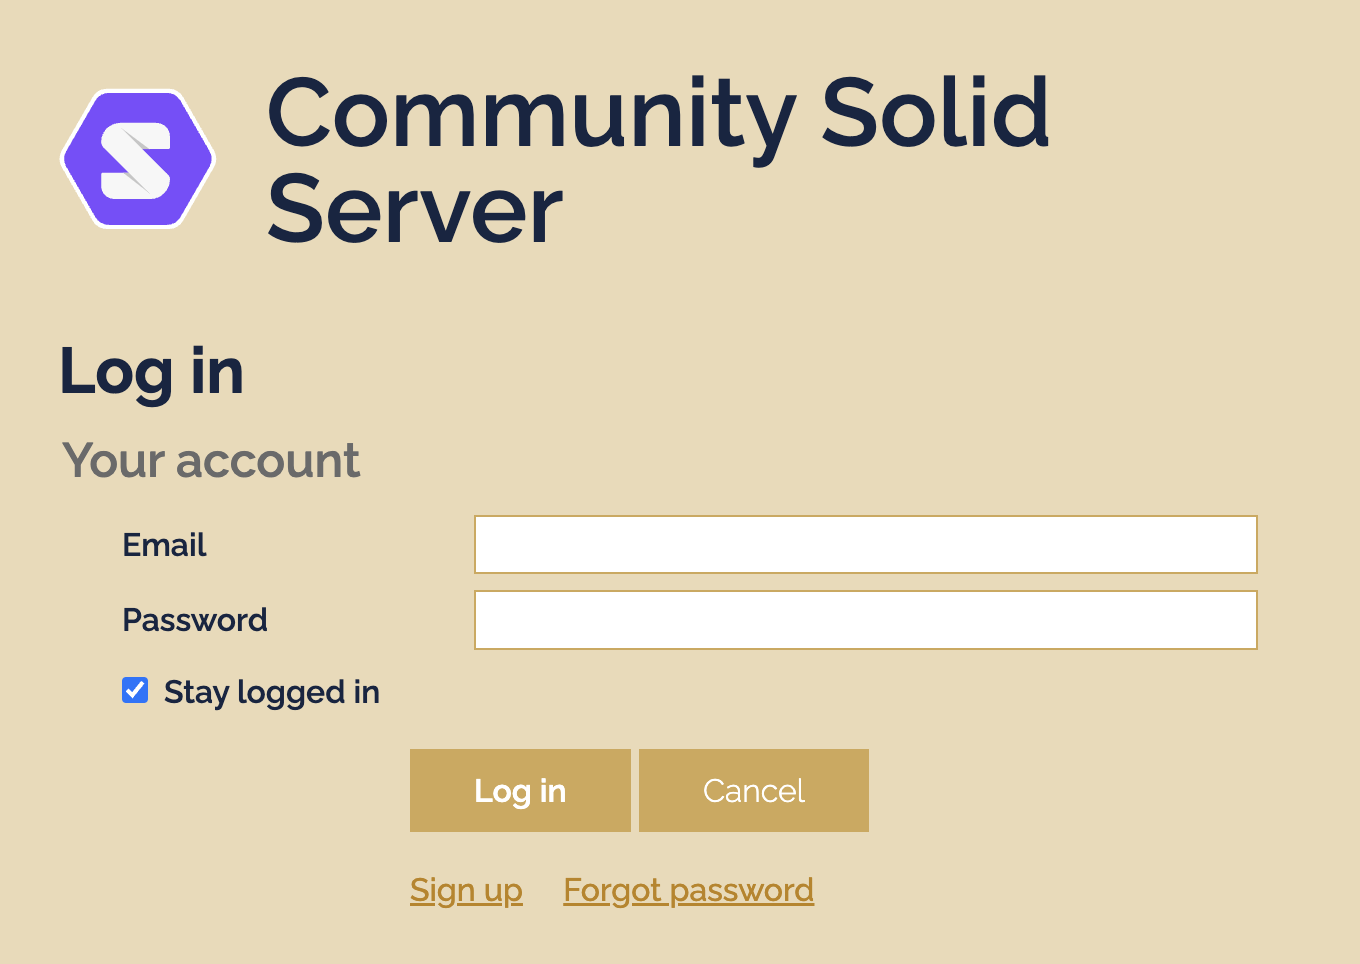
This will open an Login popup and asking you to enter your POD account email and password. Enter your Email and Password, and click Login. Authorize the Notepod app to login to your POD.
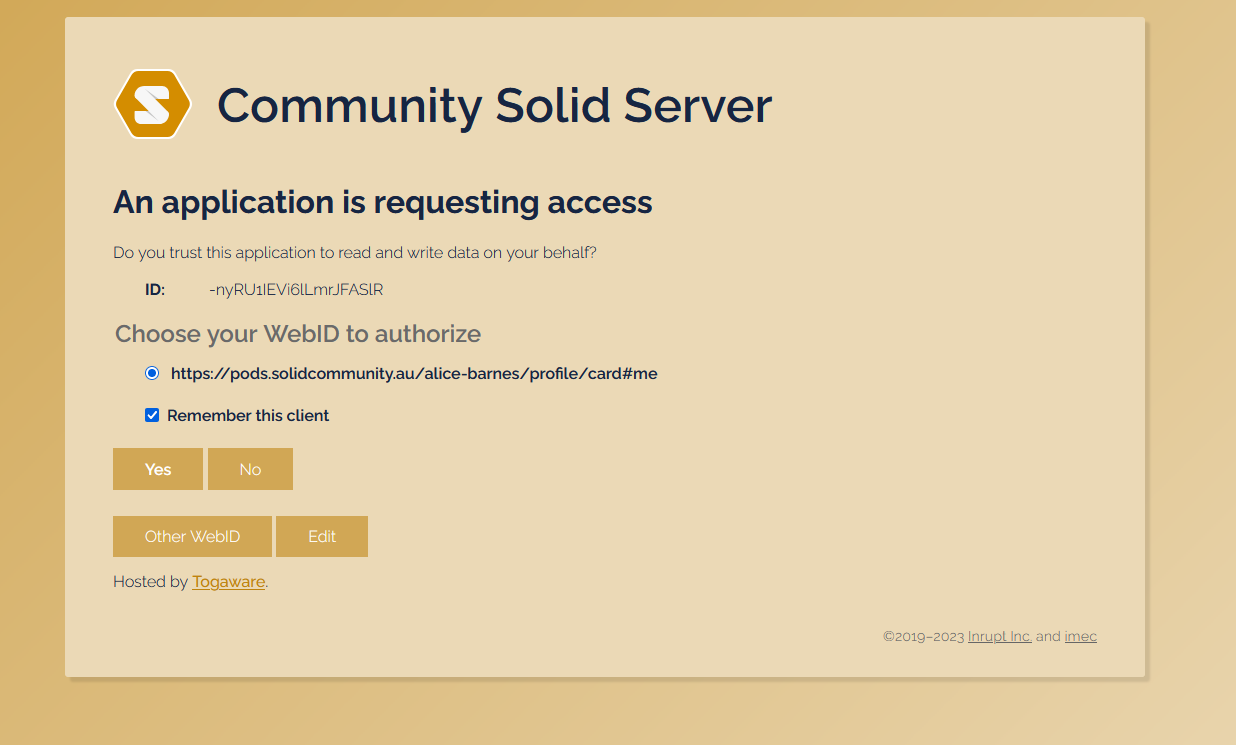
This will then show a popup window with heading An application is requesting access, showing your webID and asking you to Authorize the Notepod app to login to your POD. Click Authorize.
Option 2: recent login with same webID
In this case, the app will log you in directly without having to enter credentials again.
Option 3: recent login with different webID
If you have multiple webIDs and wish to use a different webID than that shown in the An application is requesting access popup, scroll down and select Use a different account, enter your credentials for your preferred webID, and click Authorize.
Wait
Be patient, you may need to wait several seconds for login process to complete.
Make a note
By default, the Notepod app opens on the create new note page, or you can get to this page by selecting Home in the menu.
In Note Title field, enter a title for your note.
Below the Note Title field, enter the text of your note using markdown.
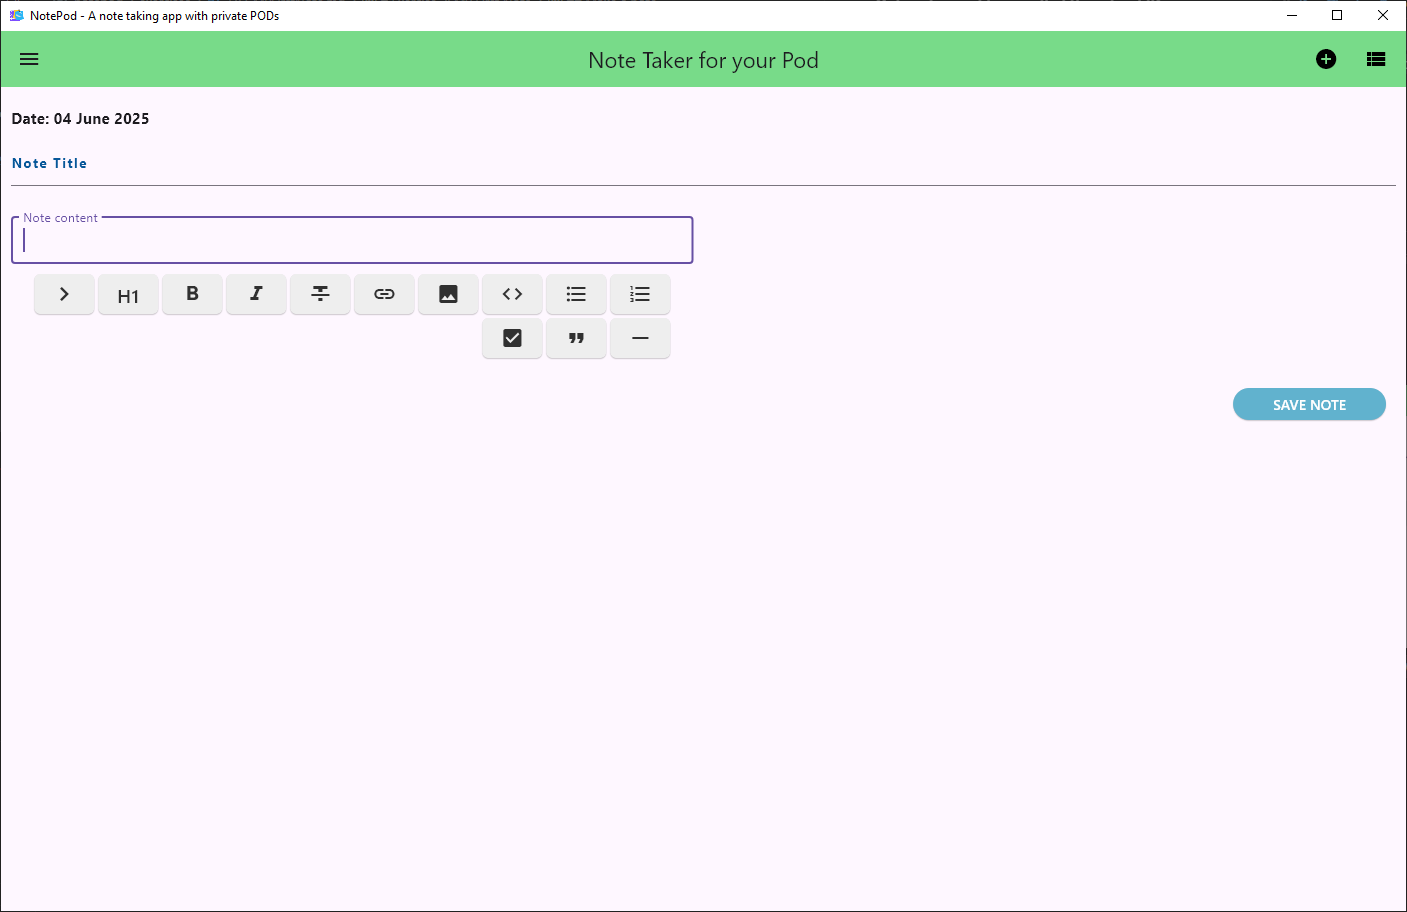
As you write you will see the rendered html is shown on the right hand side.
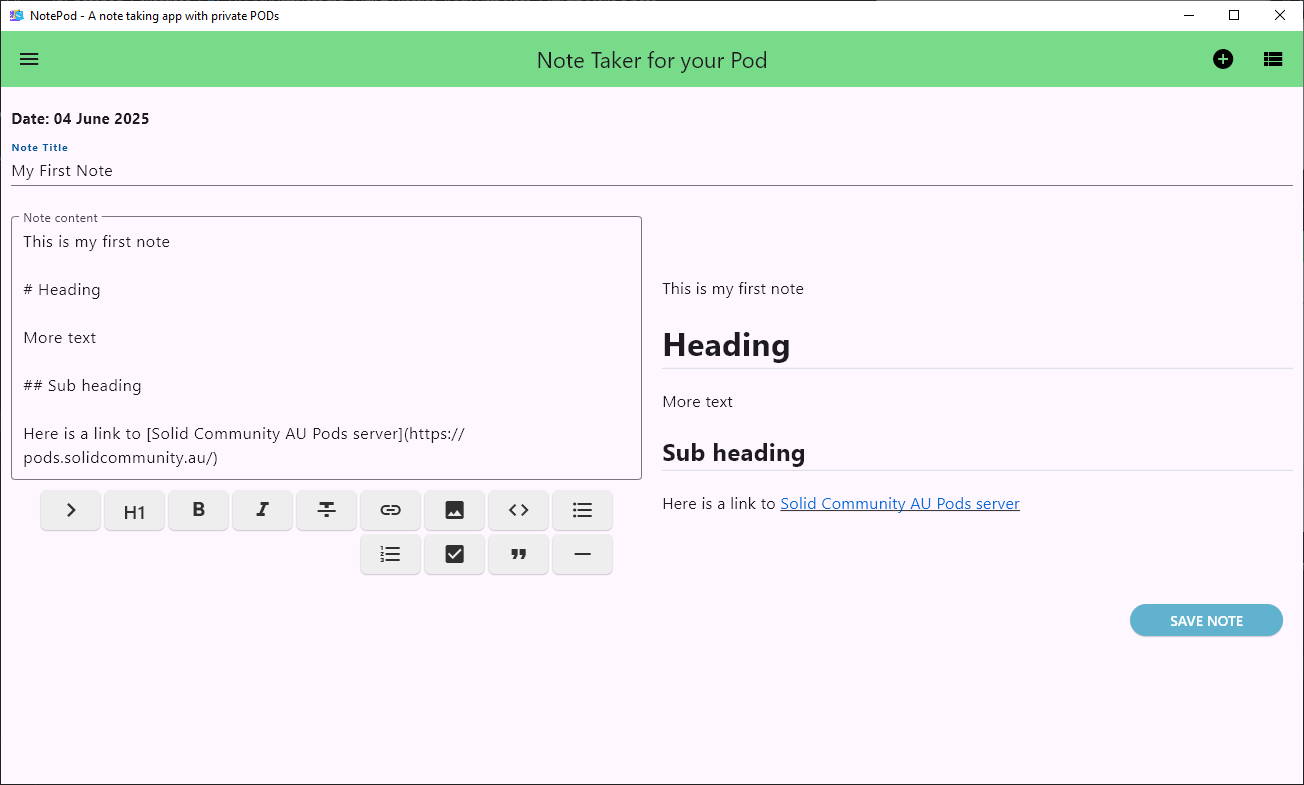
Click Save button to save your note. (Note: the app is not auto saving in the background, although that can be implemented in flutter).
After saving, you wil see an empty new note page.
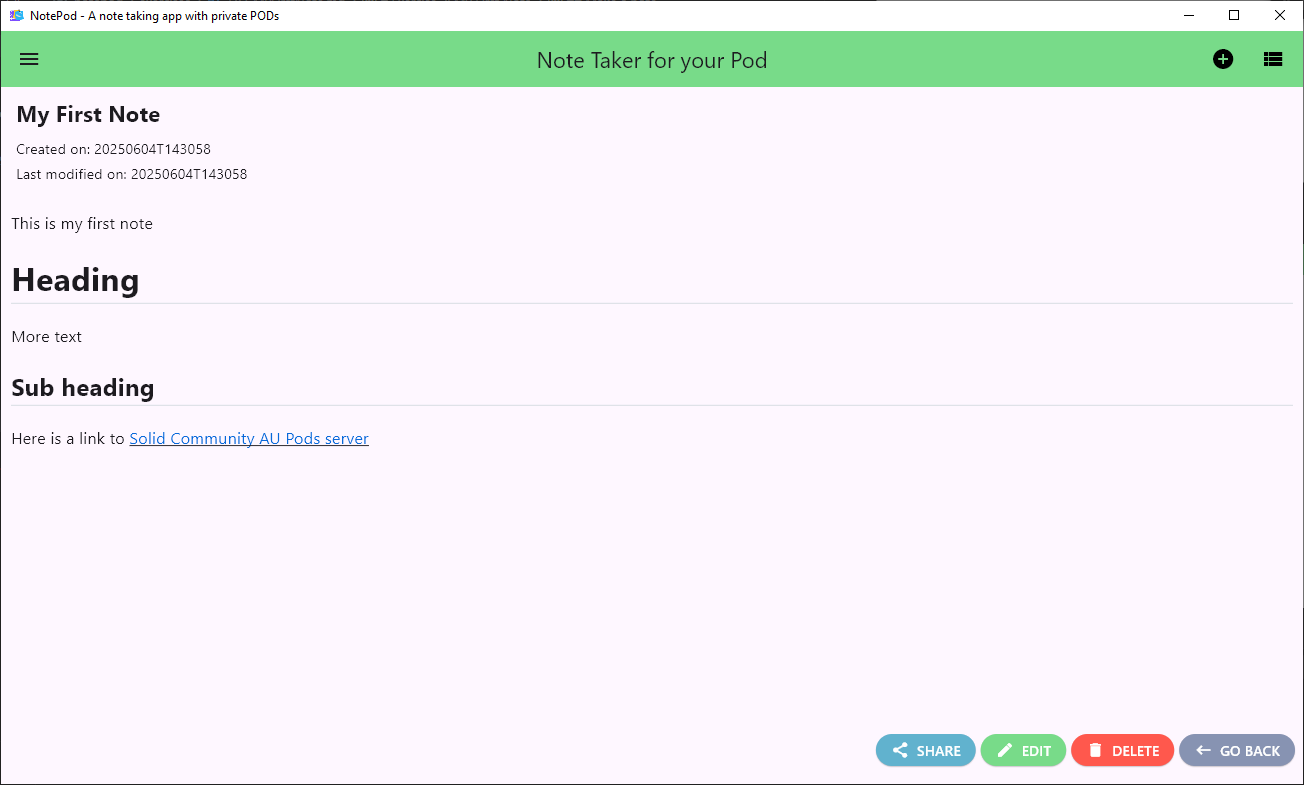
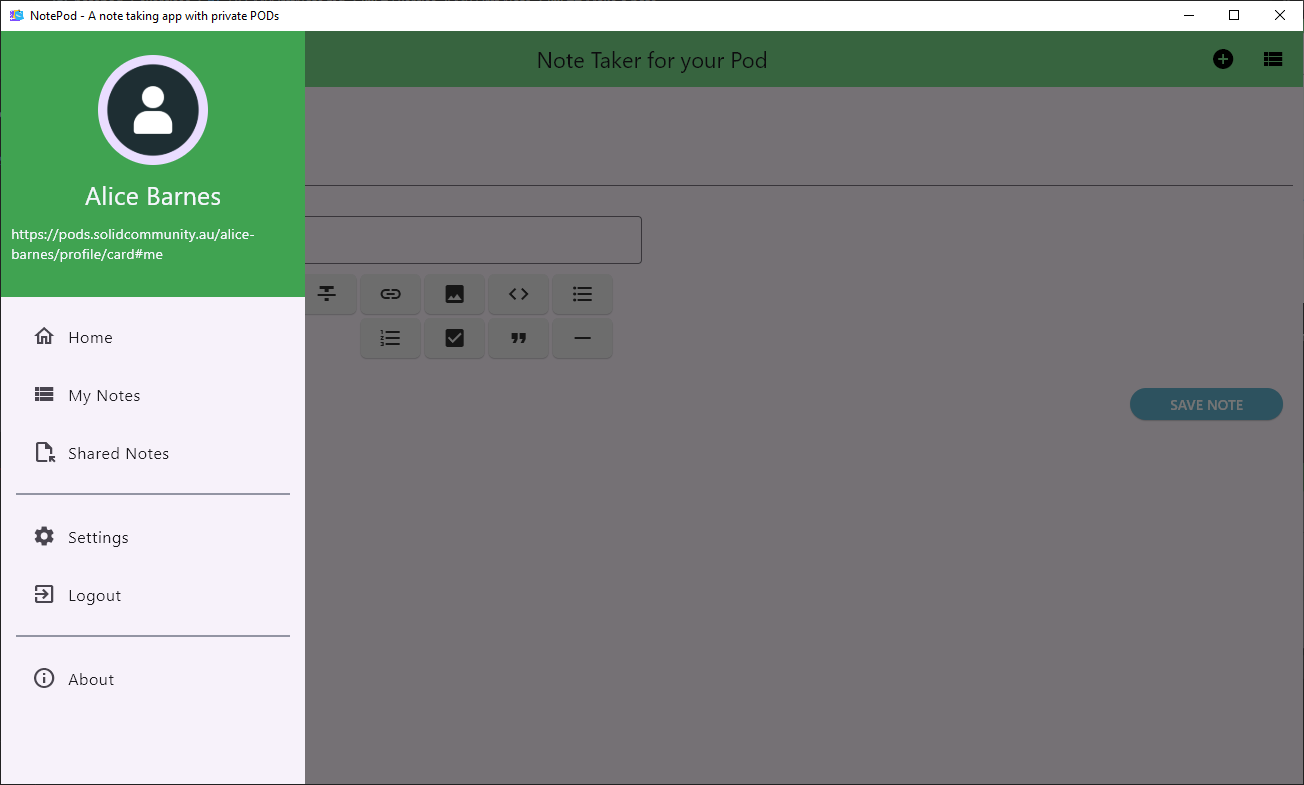
Open the menu and click My Notes to view your saved notes.
Congratulations, you have successfully saved your first note in a POD!
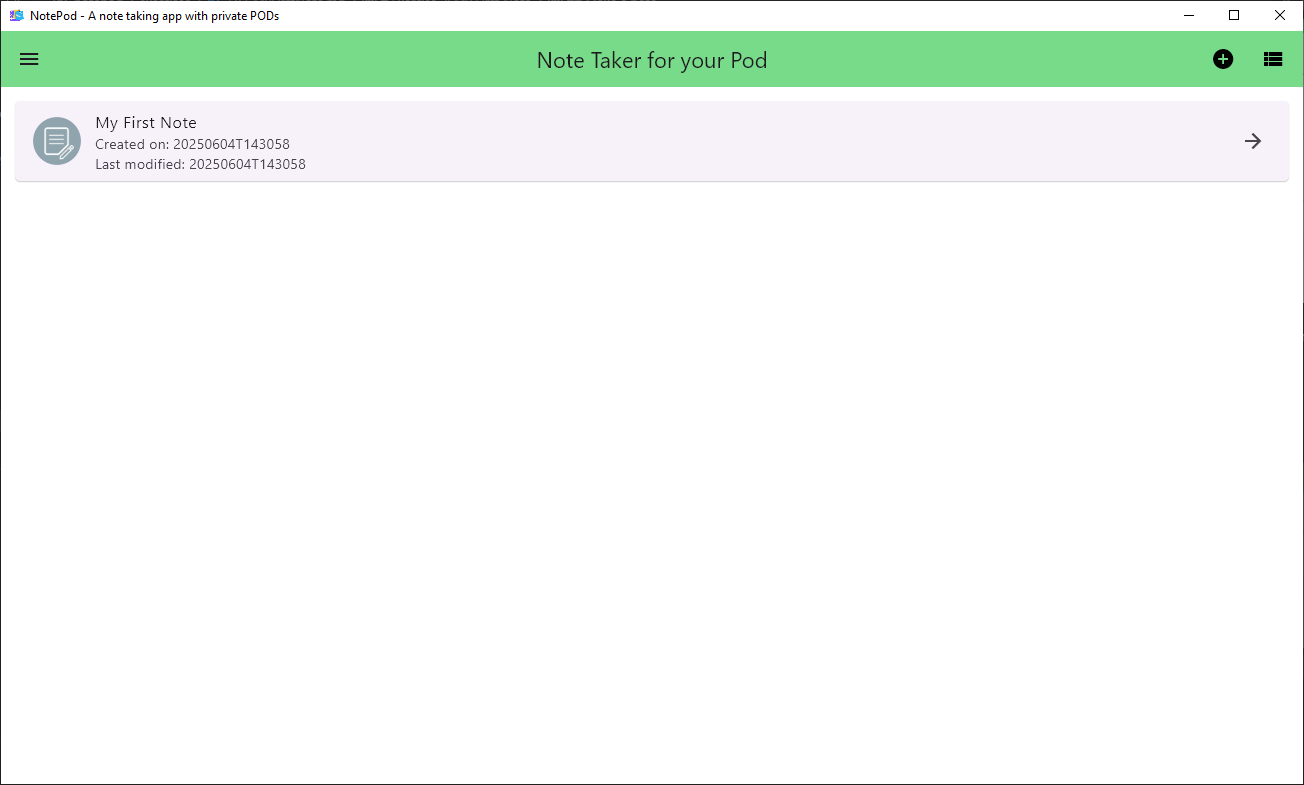
You can open your note, by clicking on your note in the list.